
Lighting on Location: Sunlight Is Simple. Using It Well Isn’t.
I love a good walk, which is fortunate because one of the best things I can do before a natural-light shoot is walk the location.
I’m teaching a practical location workshop on 19 September focused on exactly this: how to scout, read natural light, work with changing conditions and make stronger images outside the studio. If location work still feels a bit like luck, this is the part I want to help make more deliberate. You can check it out here.
If I have the time, I’ll go to the place I want to shoot beforehand, take a few photos on my phone, look at where the sun is sitting, and open the app Sunseeker on my phone to check the 3D view of where it is going to move through the environment. I want to understand what the light is likely to do before I have a model standing there waiting for me to figure it out:
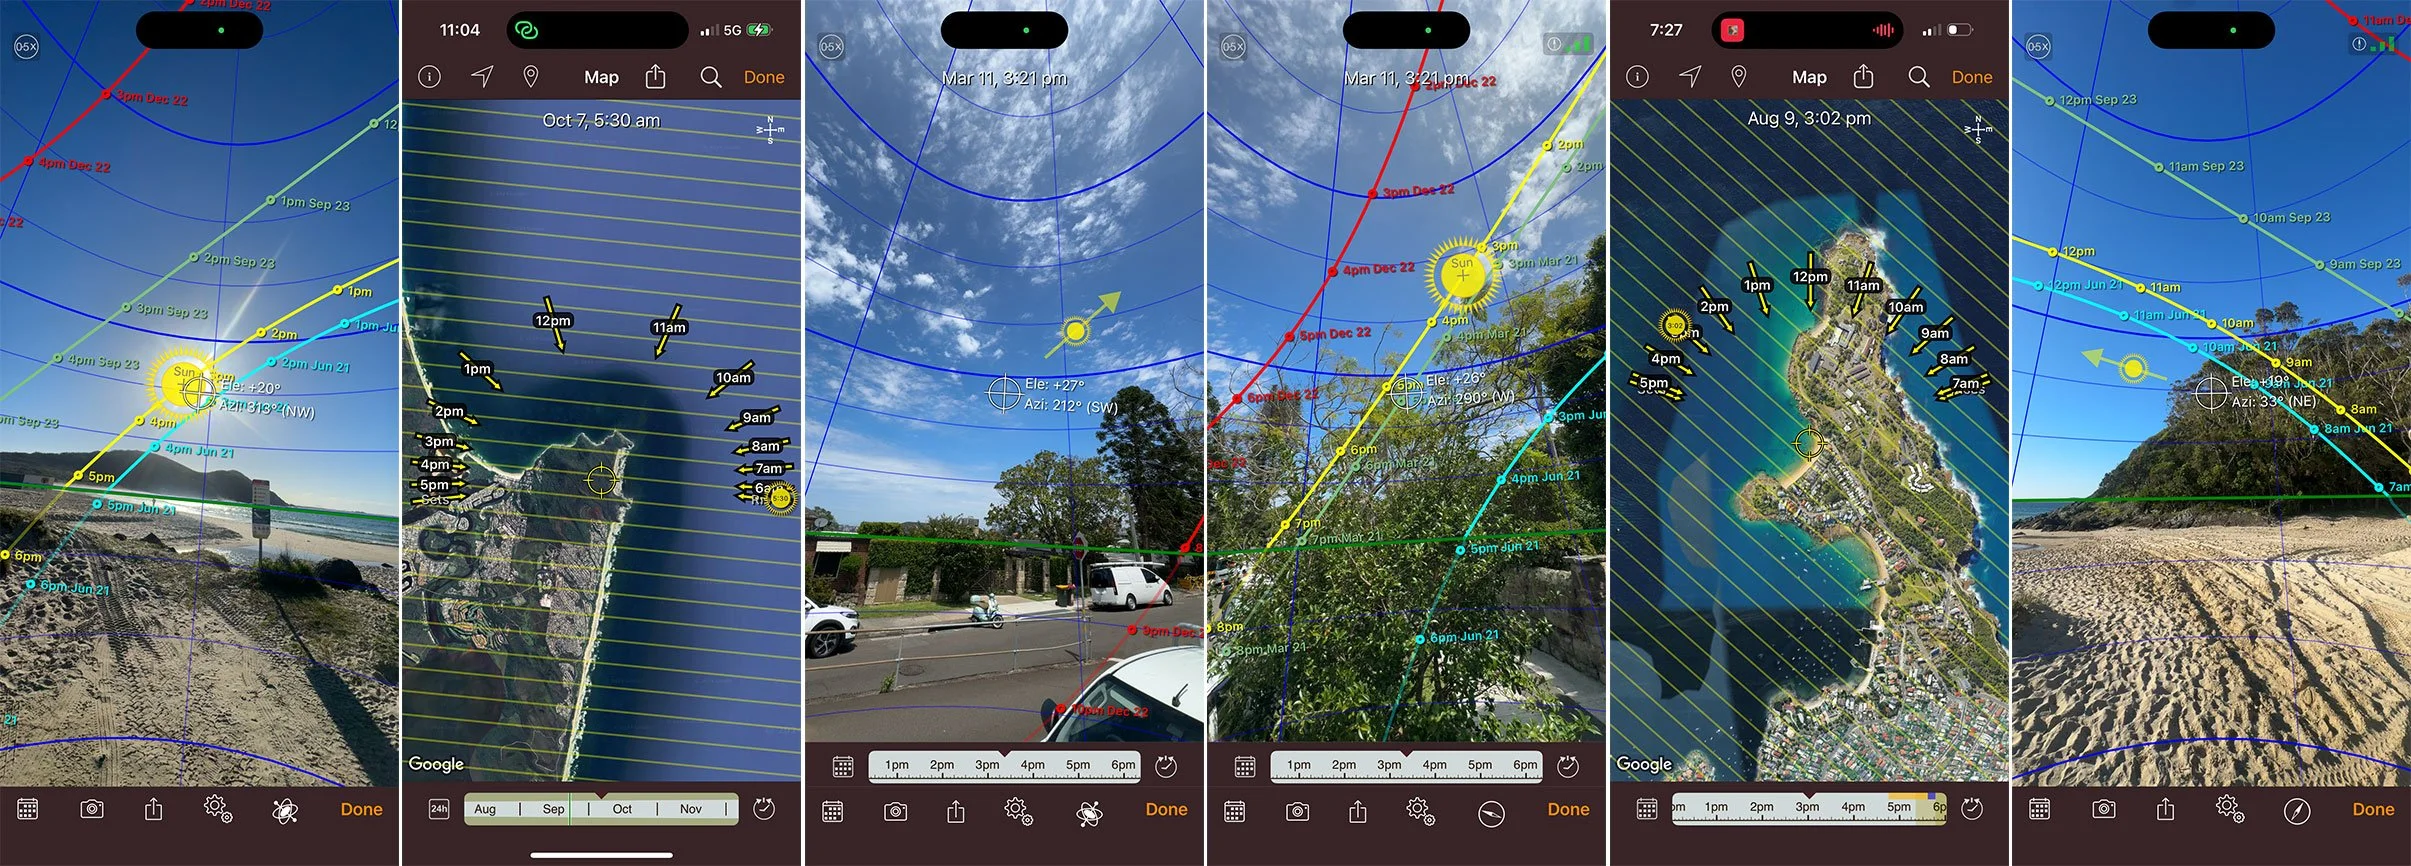
Some screenshots from Sunseeker
I’ll look at where I can hide from hard light, what can be used to block or shape it, whether there are light-coloured surfaces that might bounce, where the shadows will fall, and whether there are parts of the location that are going to become unusable as the sun moves.
That little bit of research changes everything.
Natural light gets spoken about as if it is the easy option. No lights to carry, no stands, no modifiers, no power settings. You turn up, find some nice light, and shoot.
In reality, good natural-light photography is still about control. You are just working with a source you cannot control.
That means placement matters more. Timing matters more. Your lens choice matters more. The colour and reflectivity of the ground matters. The angle of the sun matters. Even something as simple as a pale wall, a tree line or a cliff can completely change the way someone photographs.
You can make good images at almost any time of day, but you have to understand the environment you are walking into. Fighting it nearly always leads to worse results.
Research the light before you arrive
If I am shooting outside, one of the first things I want to know is where the sun is going to be.
I want to know where it is rising from, where it is setting, whether the location will be in full sun when we arrive, whether a building or cliff is going to block the light early, and whether there is somewhere nearby I can retreat to if conditions become difficult.
That is why scouting matters.
A location can look perfect online and be horrible to shoot at 1pm. Another location can look completely unremarkable until the sun hits it from the right direction.
I would much rather spend ten minutes doing the homework than spend an hour trying to force the wrong part of a location to work.
A few things I always look for:
where the sun is travelling
where I can find open shade
what surfaces will bounce light
what can be used as a natural flag or blocker
how much room I have to move around the subject
Most campaign shoots I do, I’ll do a test on the location, or walk through it the day before, just so I can see what’s going to happen. Both my campaigns for Vacay and Rusty involved a scout and a quick shoot before getting these results!
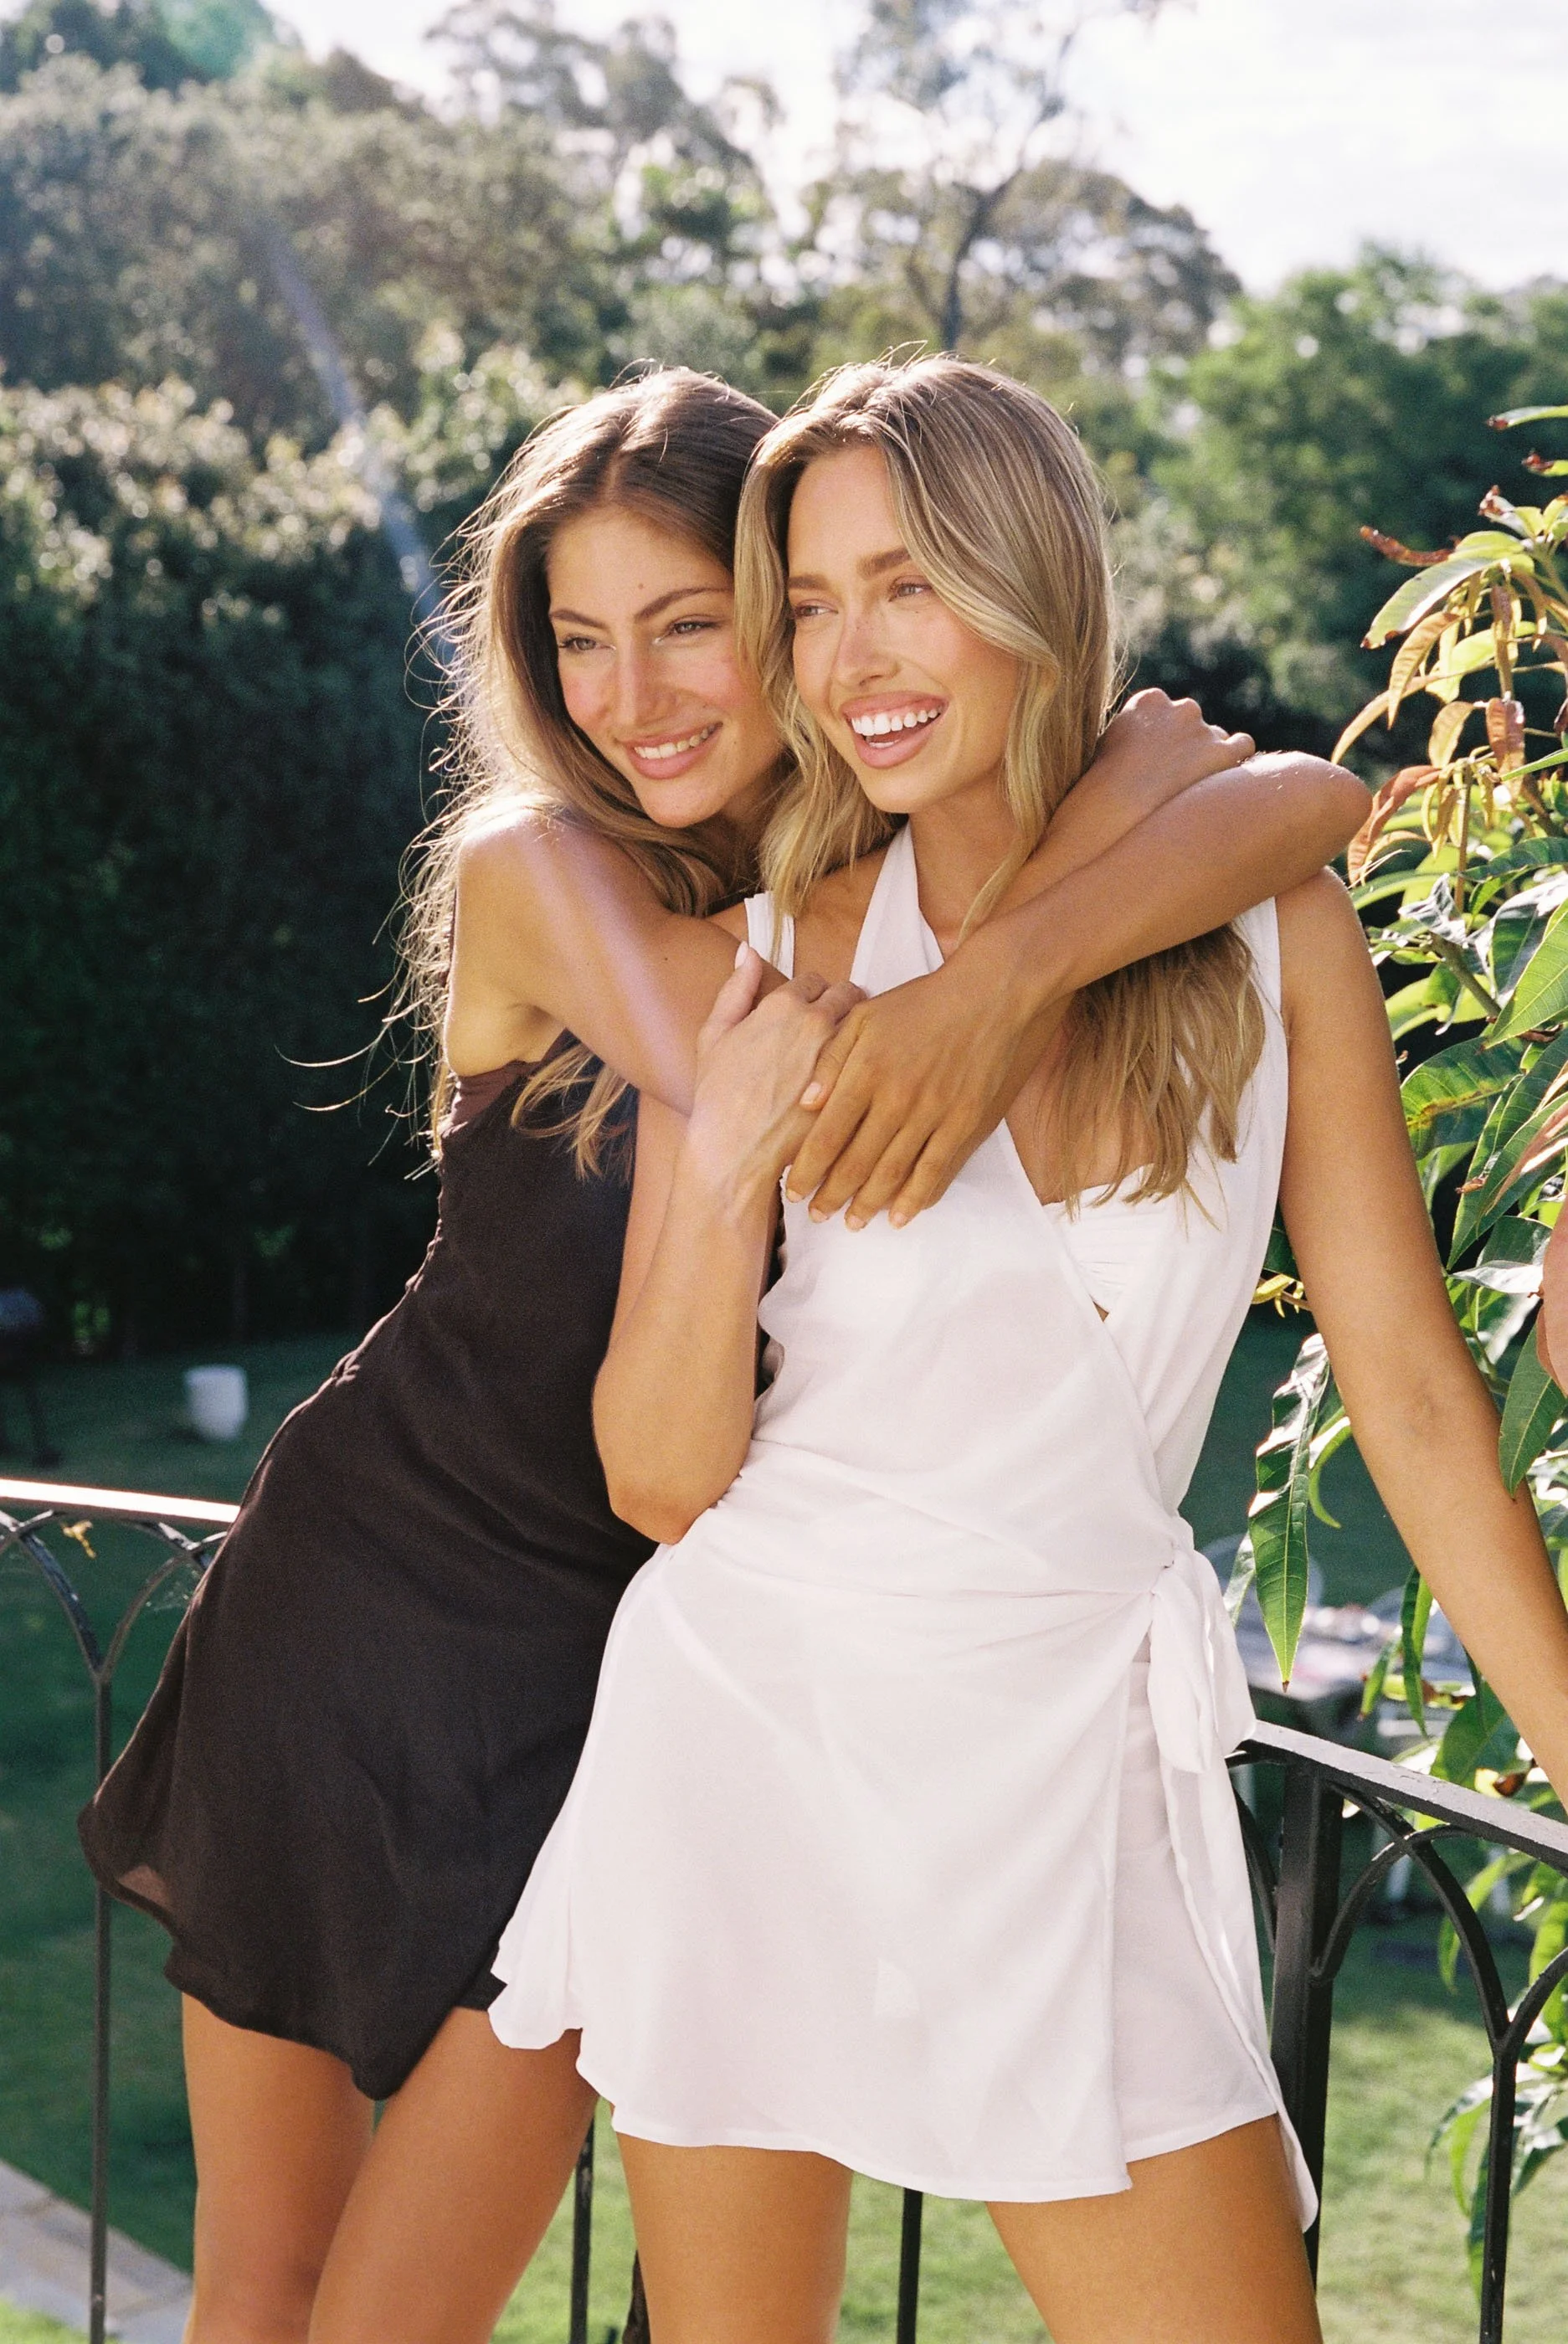
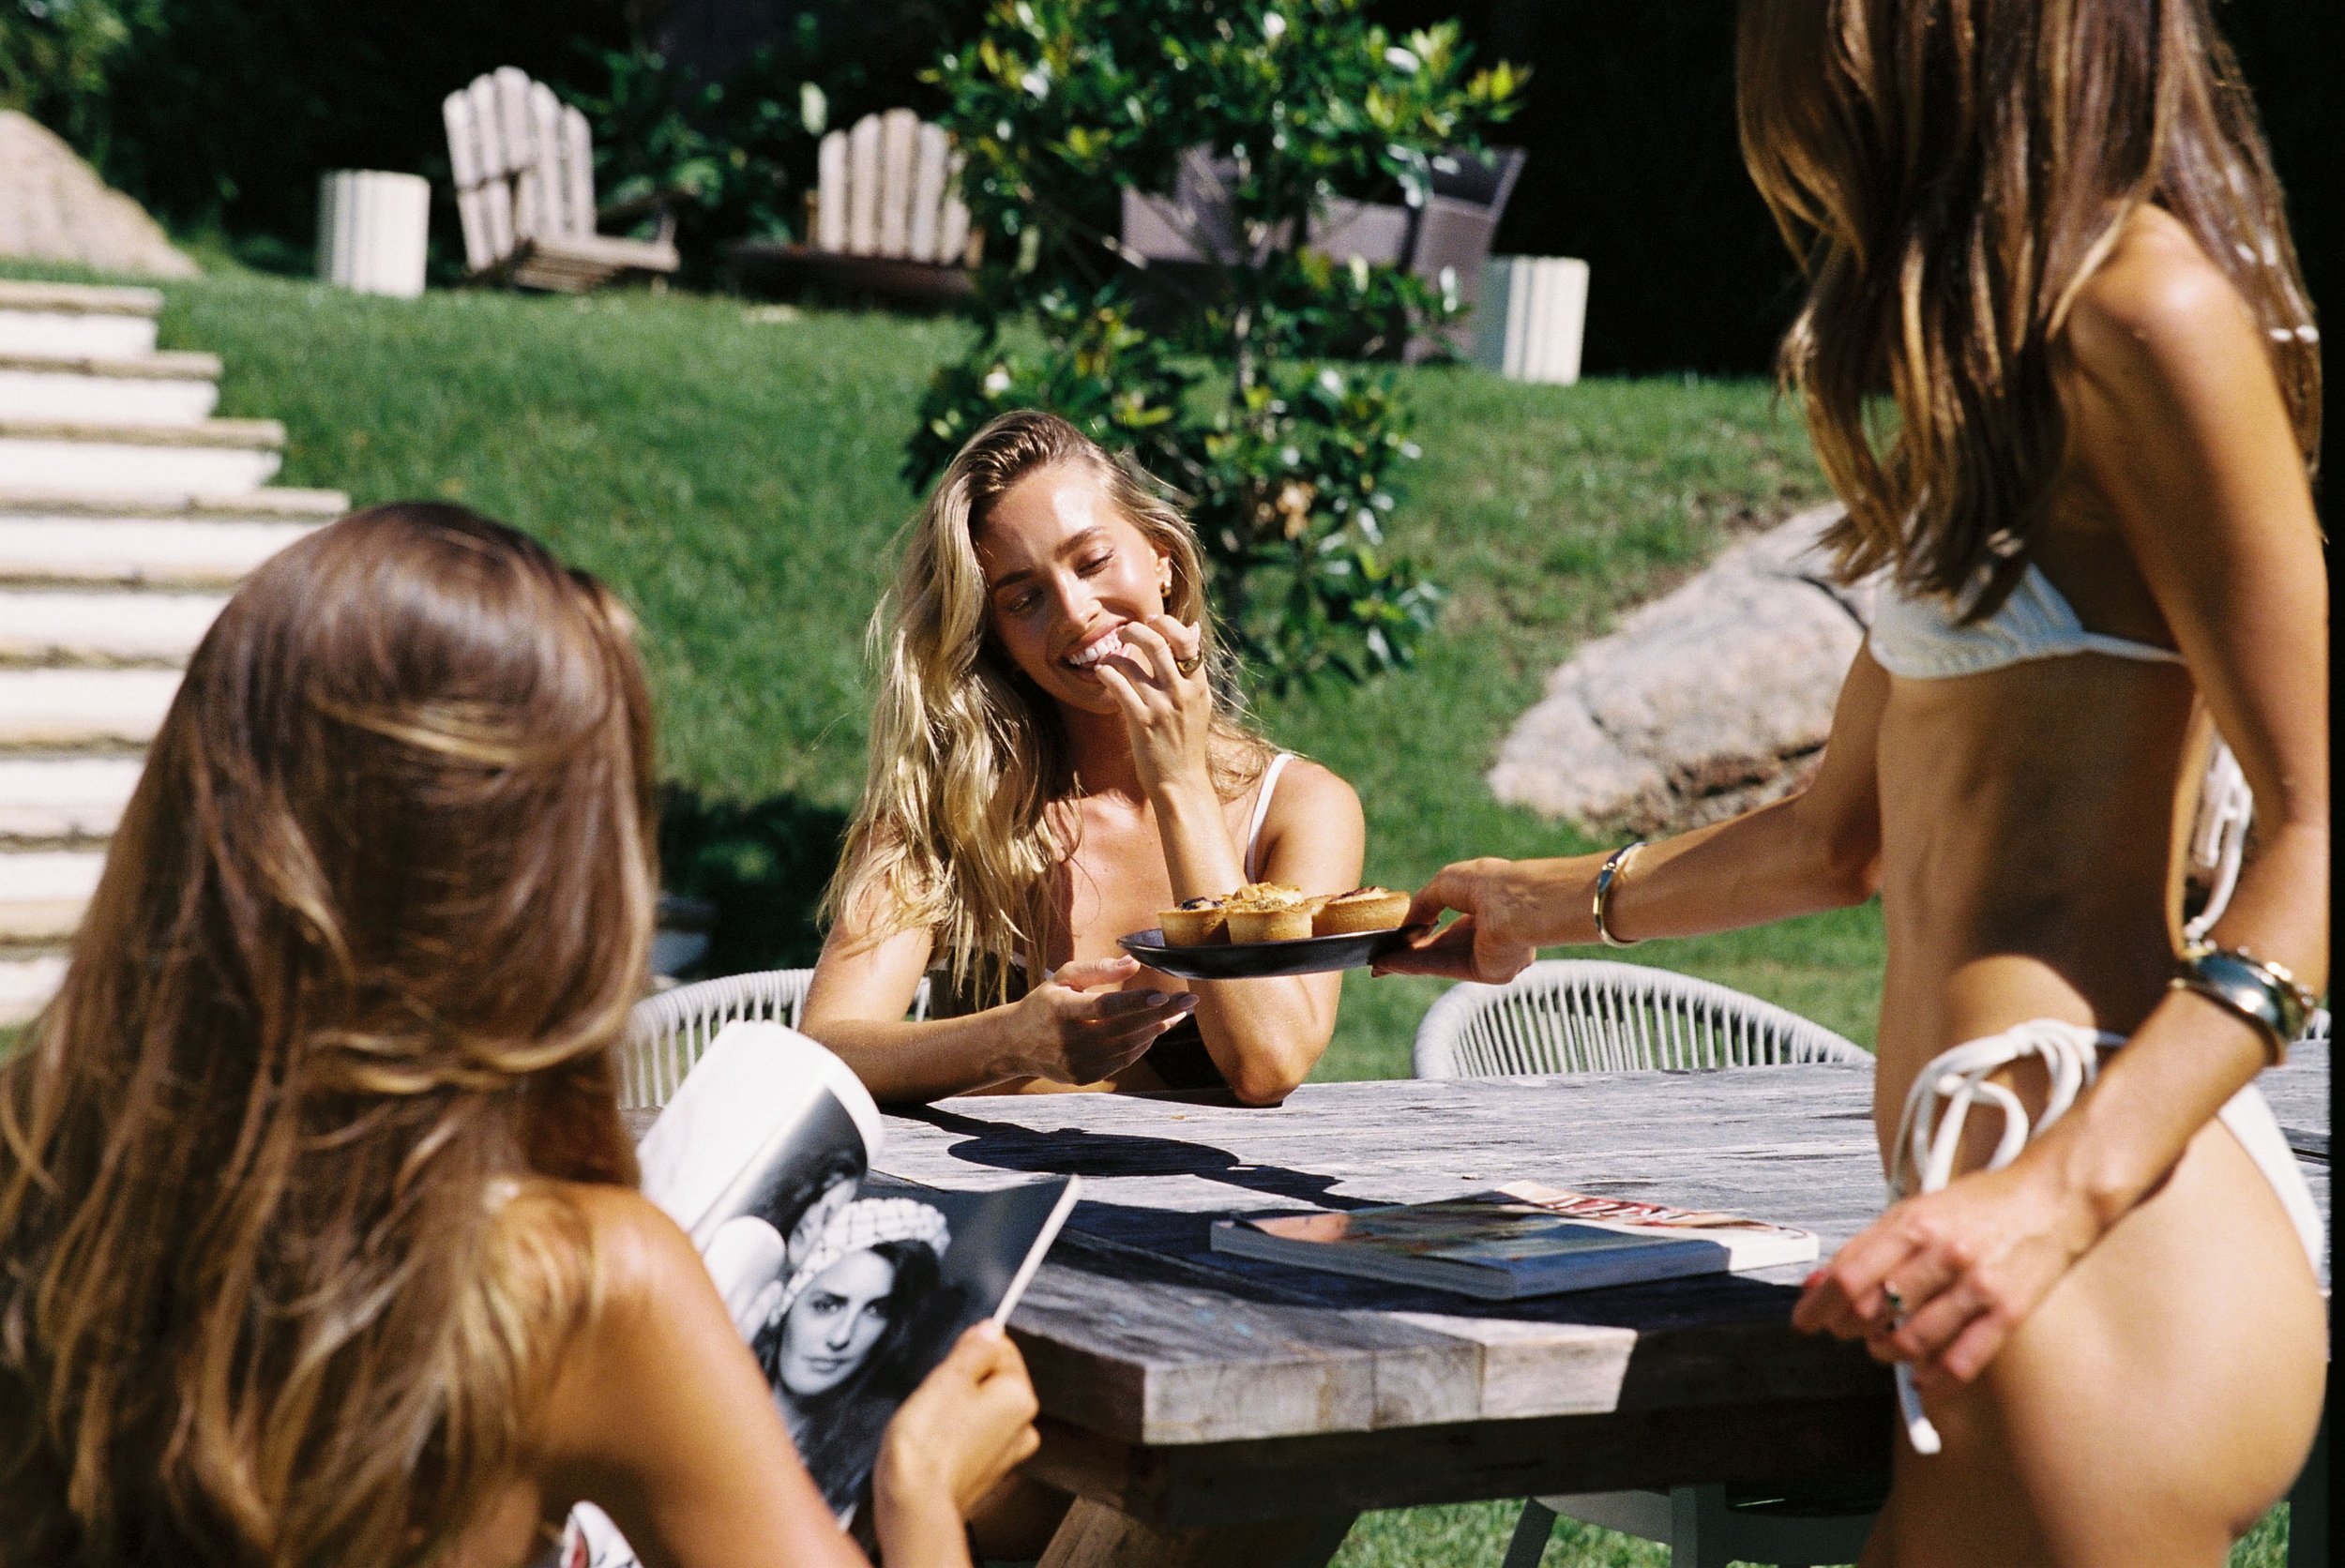

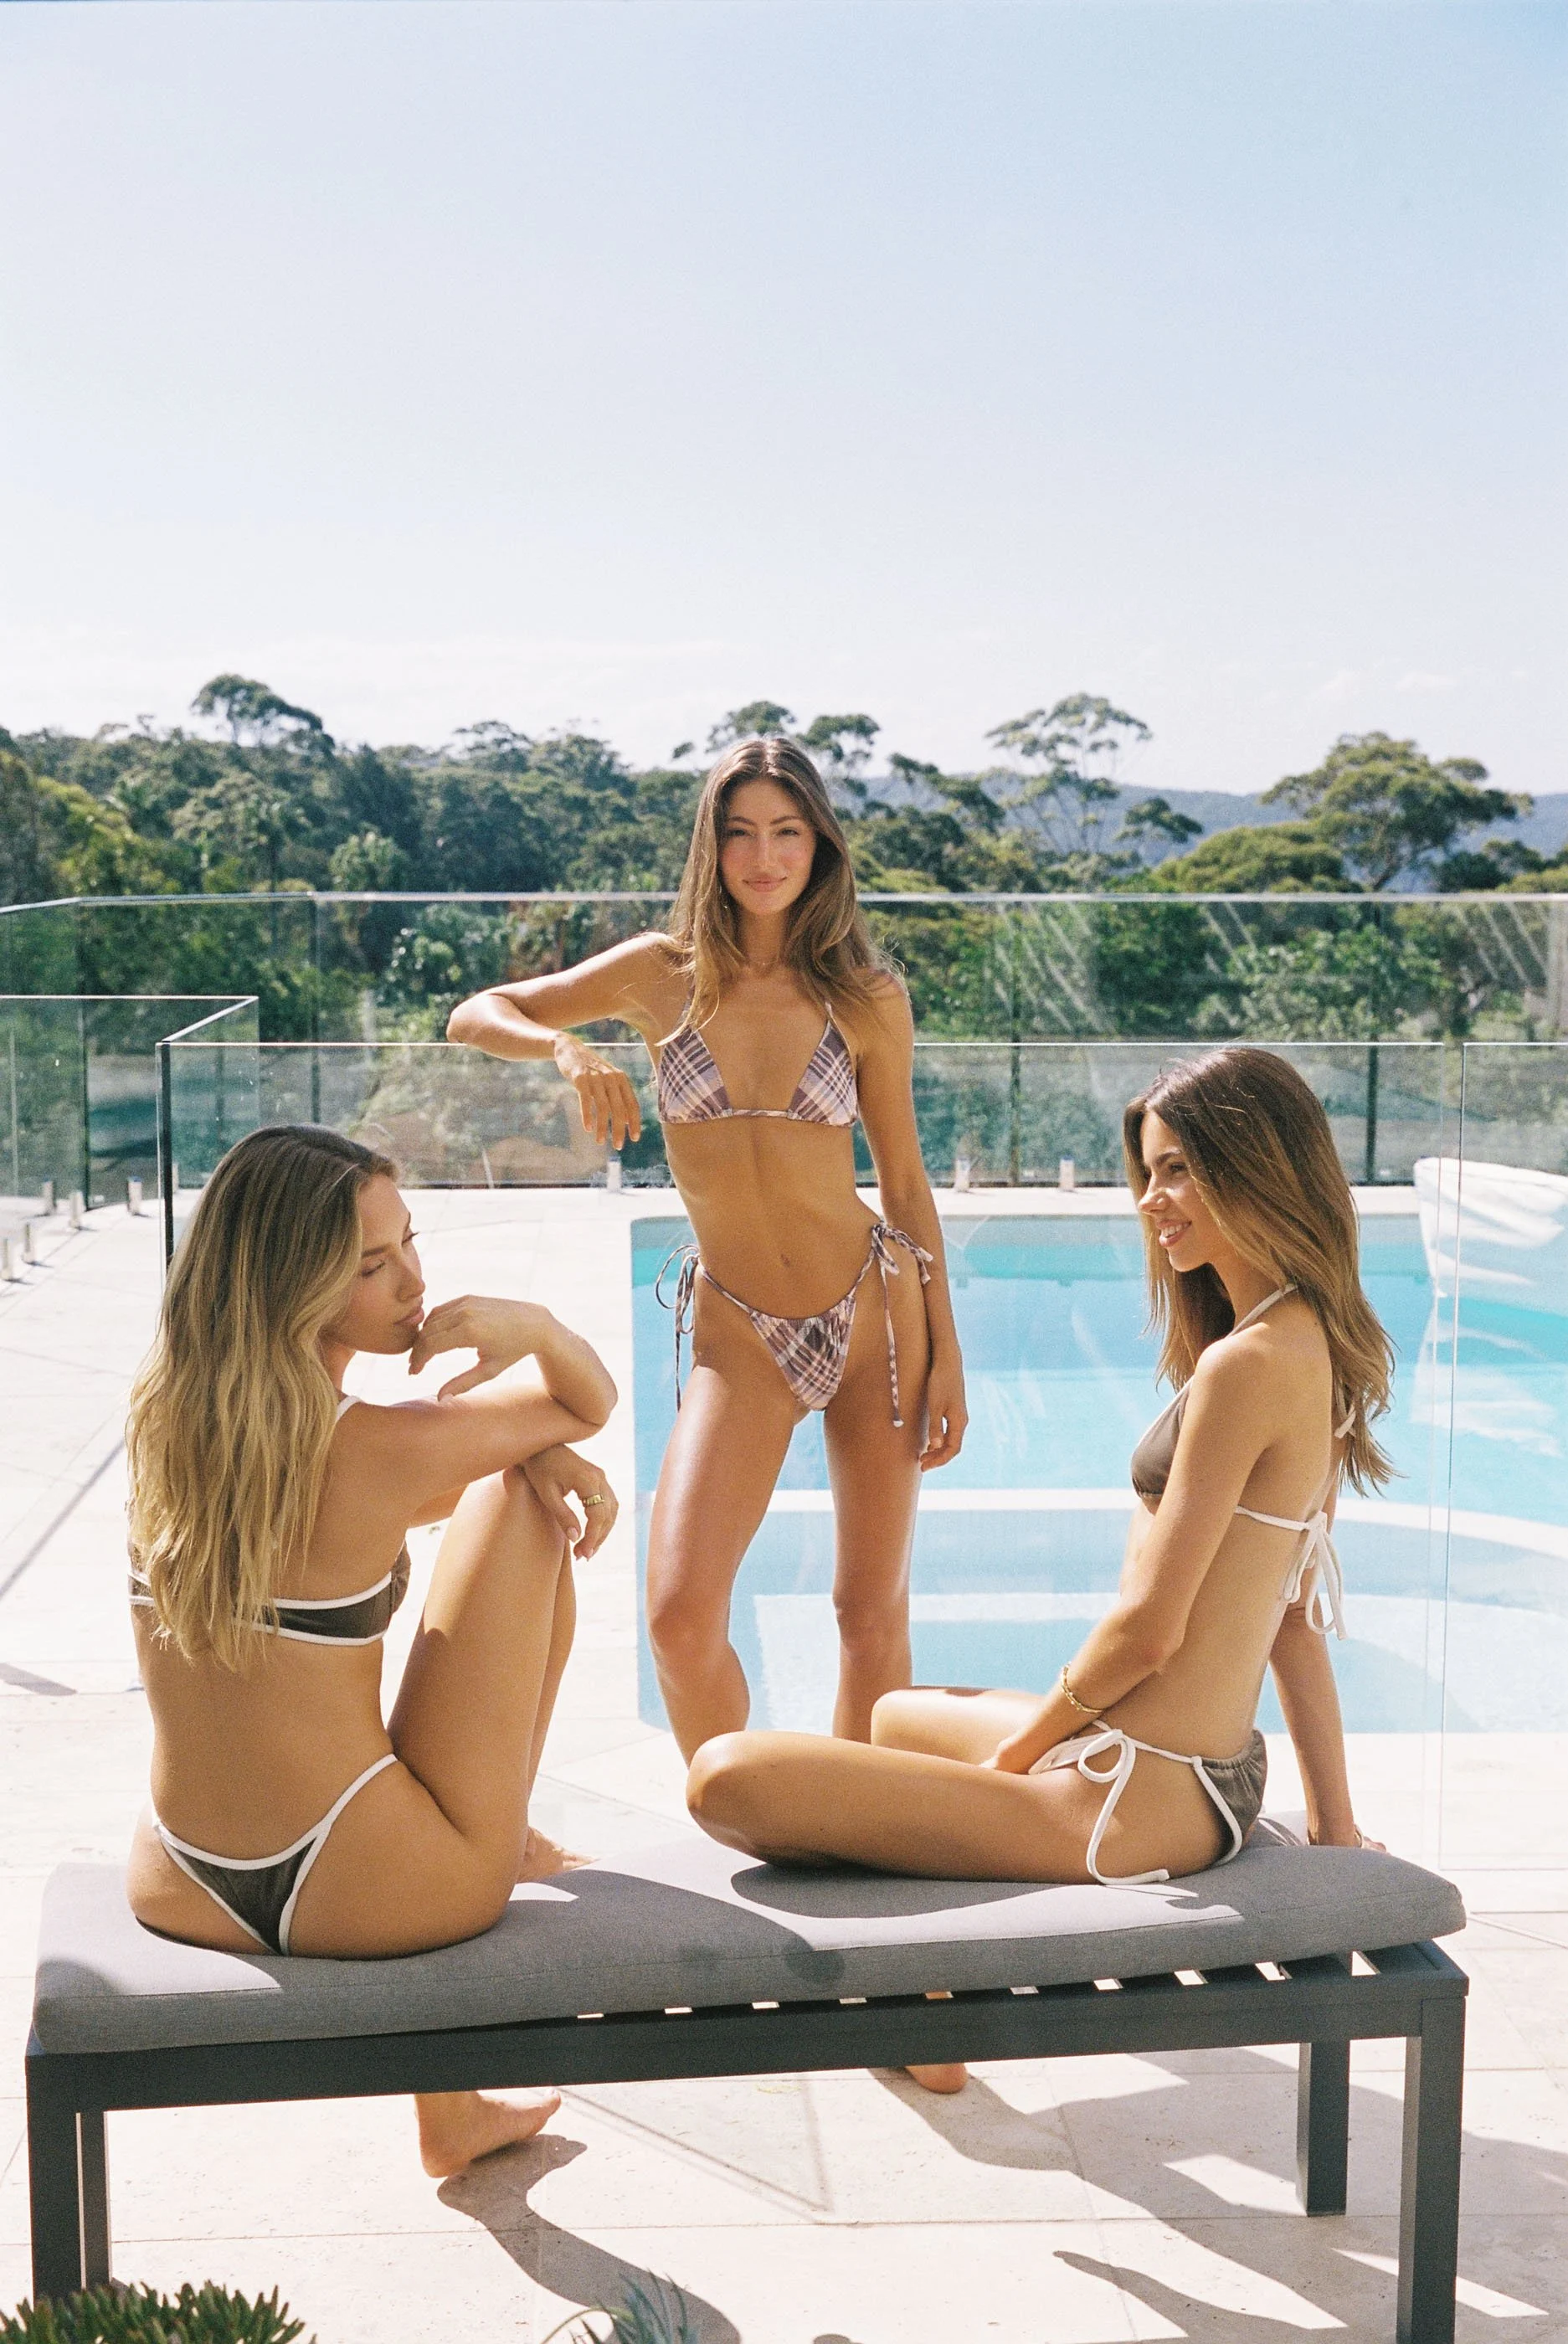
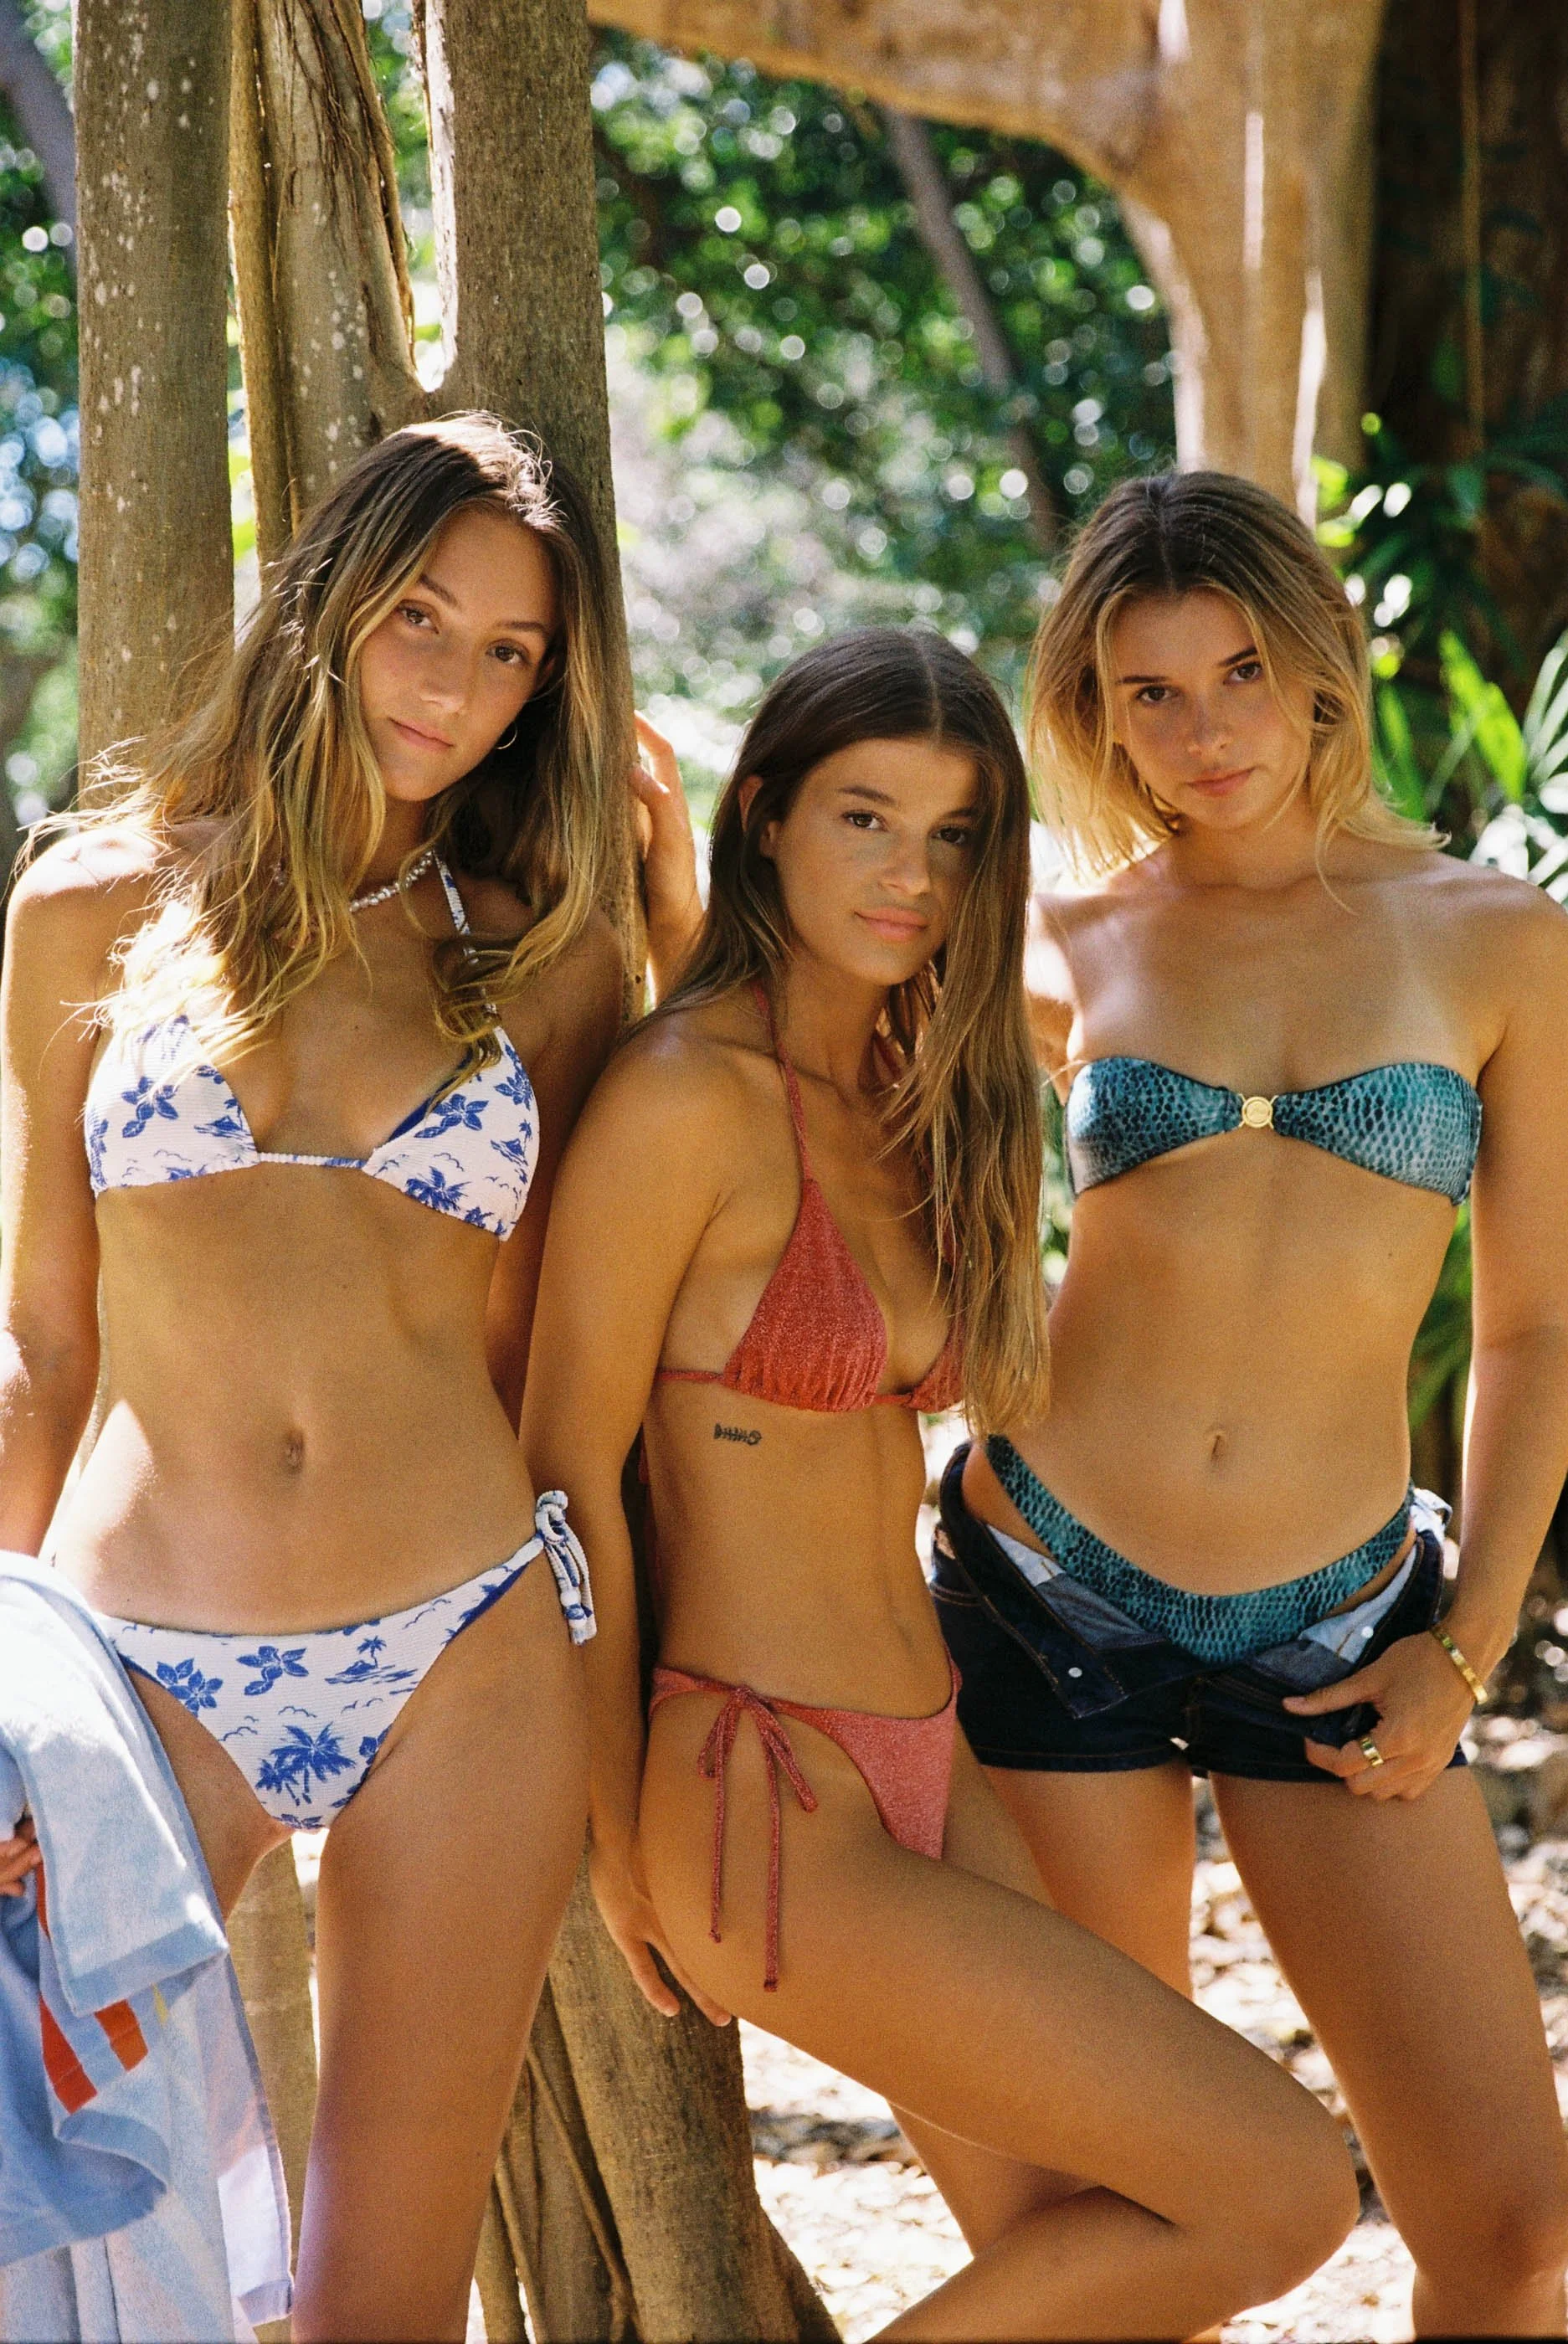

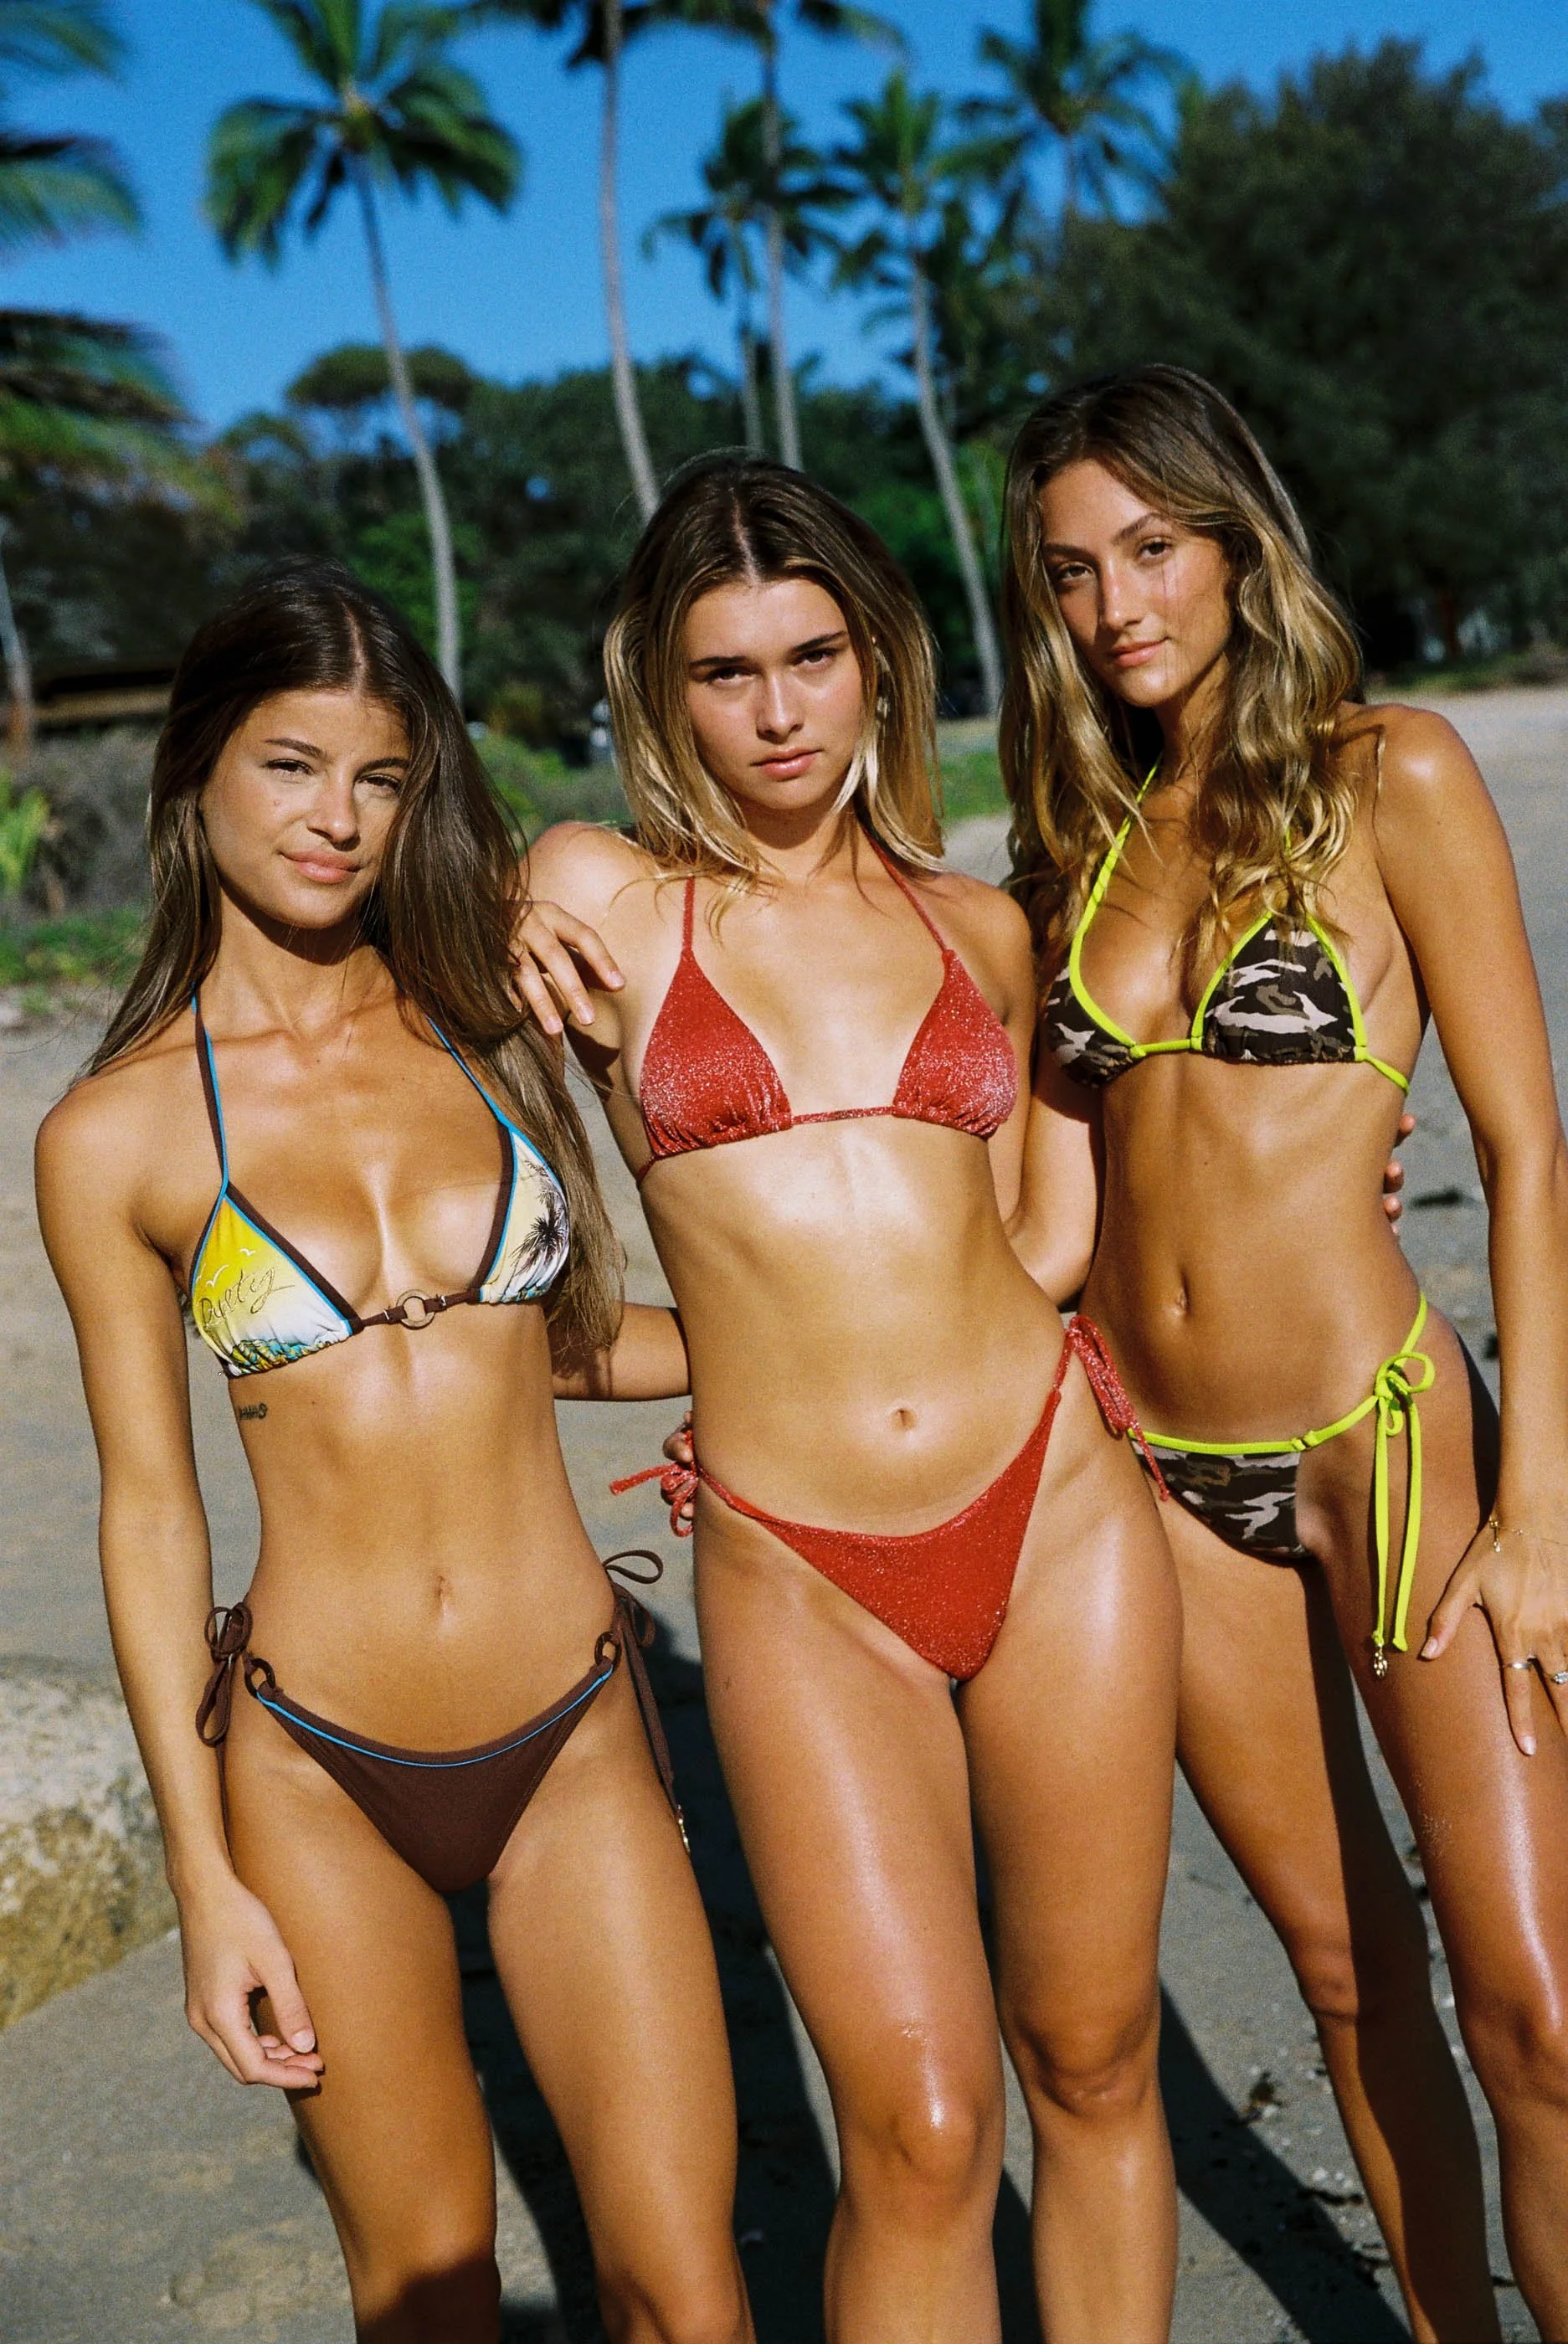
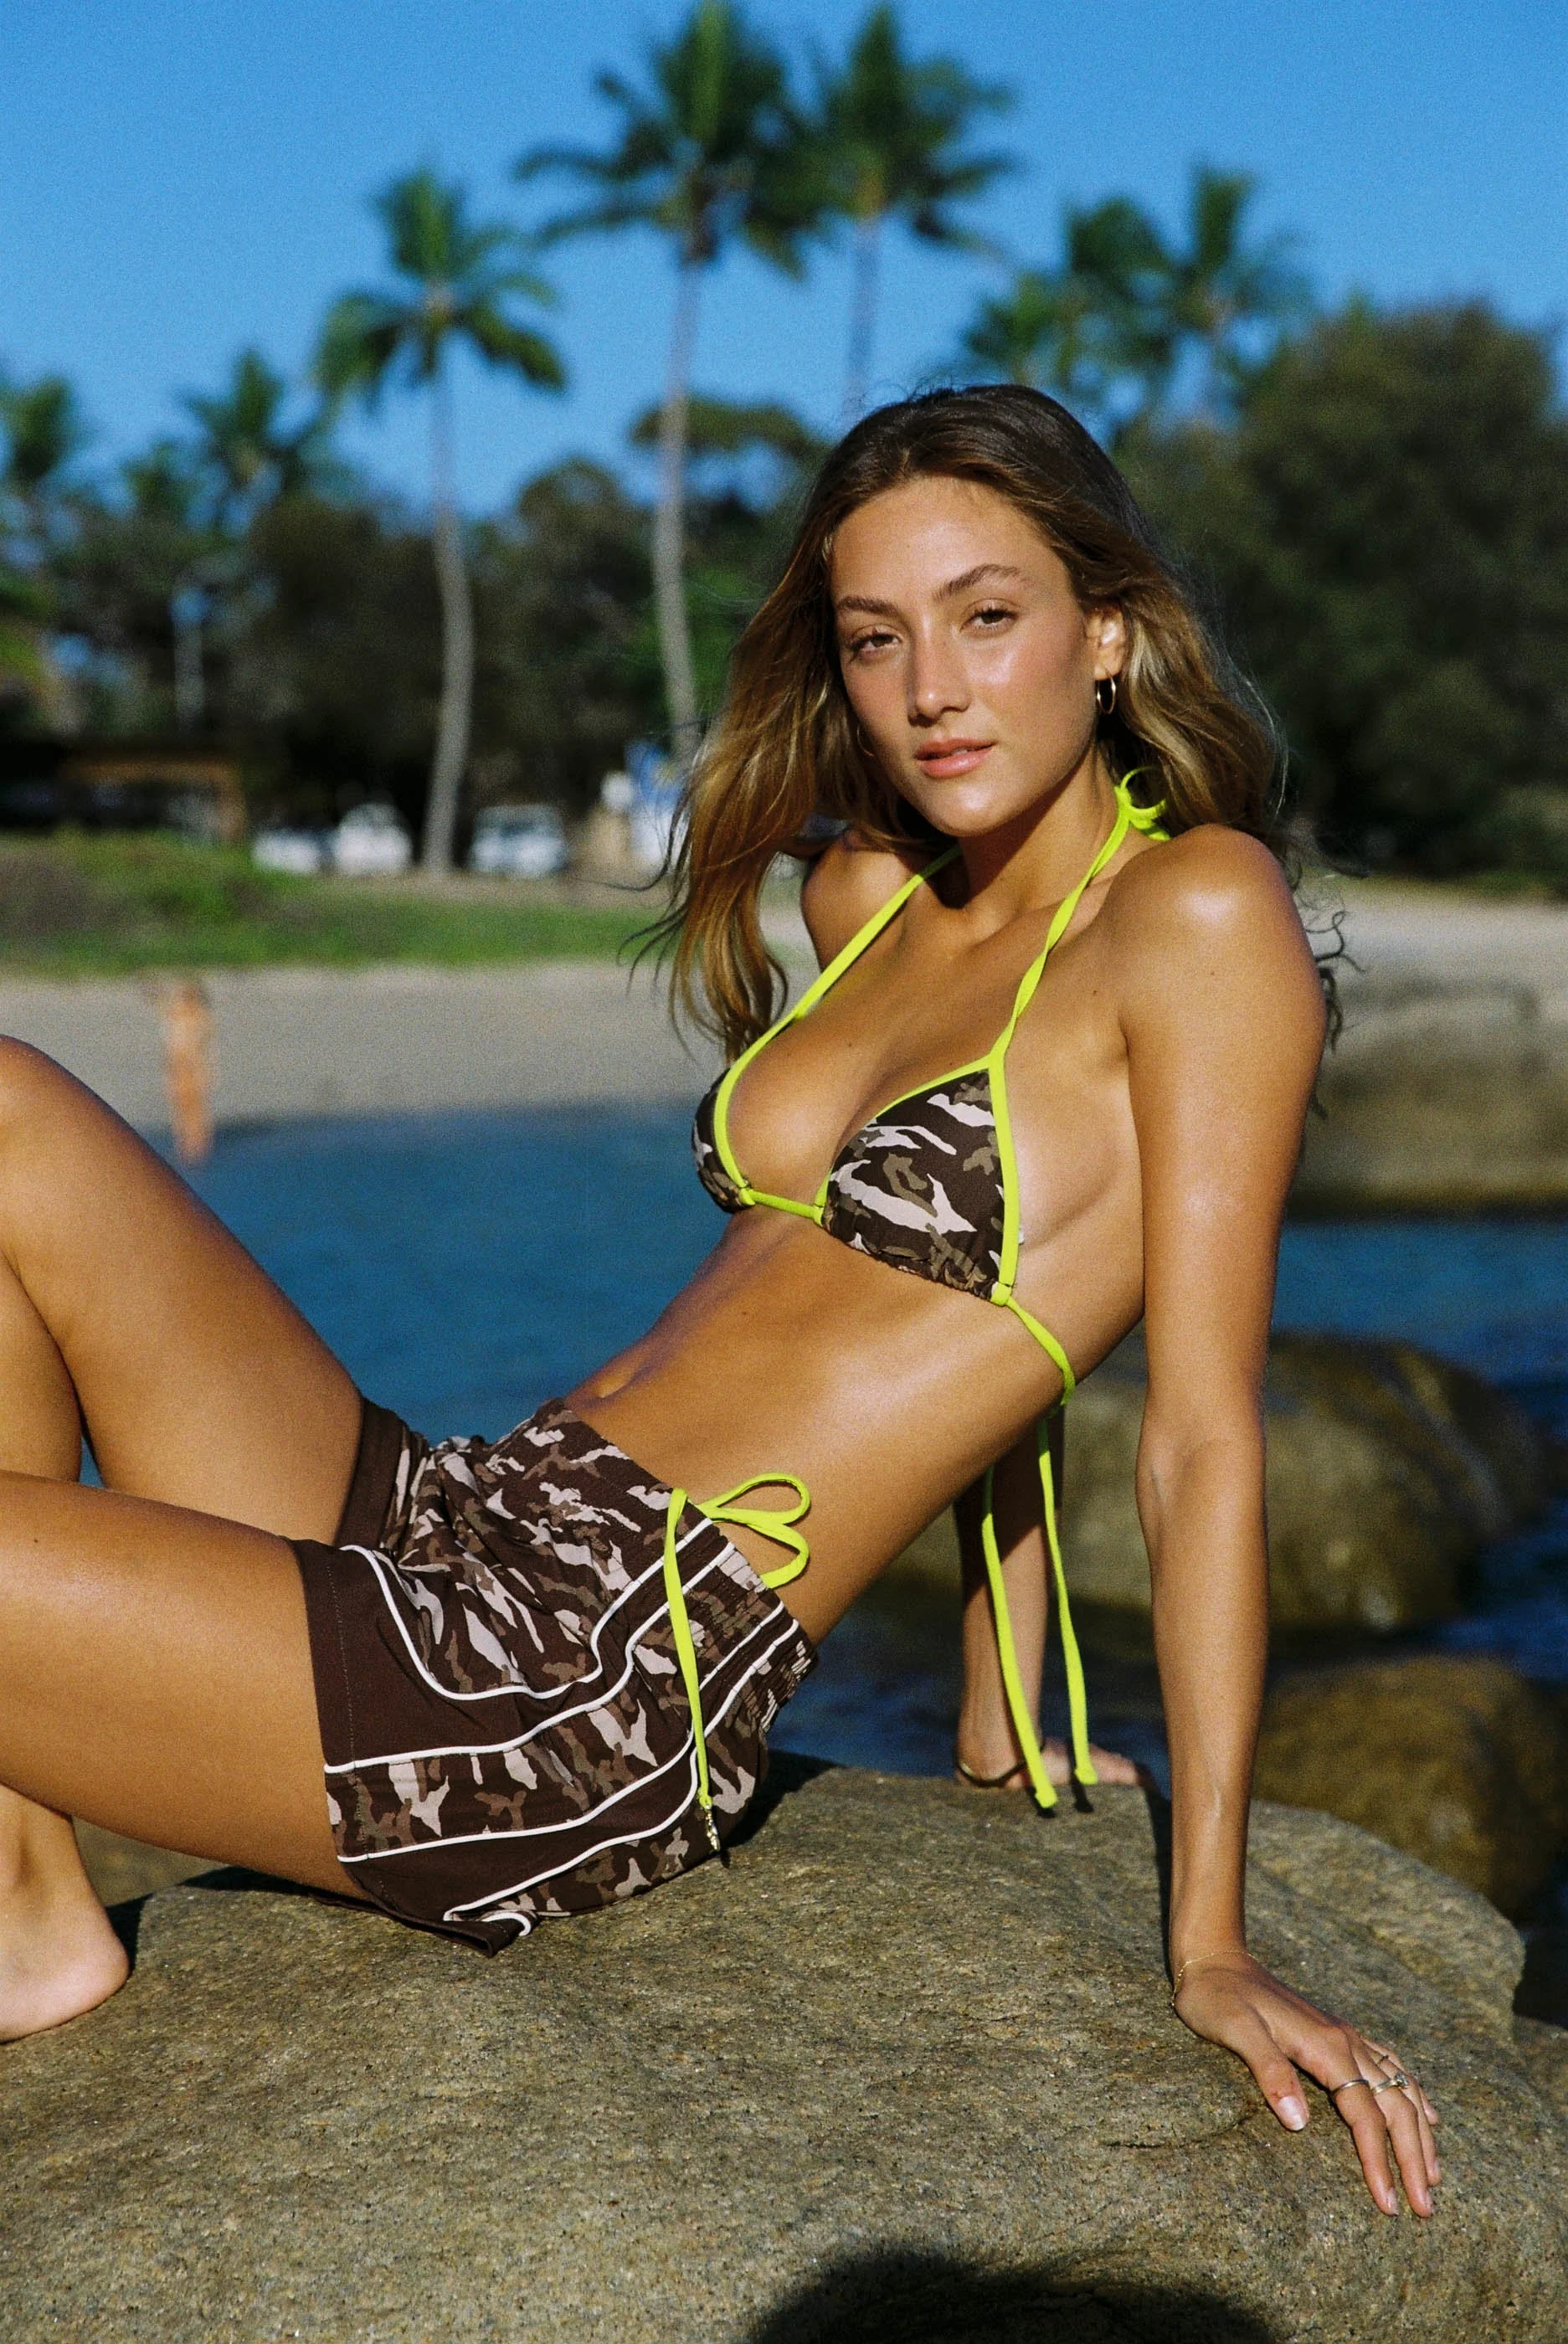
Backlight is one of the easiest tricks you have
Direct sun on a face can be difficult, particularly when it gets higher, so one of the easiest solutions is to put the sun behind the subject.
Backlighting immediately removes a lot of the harshness from the face. You can still keep the energy and separation of direct sunlight, but without asking someone to squint into it or dealing with the worst downward shadows.
It also gives you beautiful edge light around hair, skin and clothing.
The trade-off is that the face may now be too dark, which is where bounce, fill, or a small amount of strobe becomes useful. The point is not to overpower the sun. It is just to bring enough light back into the face that the image feels balanced.
That small adjustment is often all it takes.
Midday light is harder, not impossible
Midday is probably the hardest time to work because the sun is high and the shadows become more distracting.
Eye sockets get darker. Noses create stronger shadows. Chins become heavier. The light drops down rather than travelling across the face, which tends to make everything feel less flattering and harder to control.
That does not mean you cannot shoot at midday.
It just means you need to stop expecting the location to solve the problem for you.
Look for the edges of shade. Look for walls, trees, verandahs, cliffs, alleyways, anything that lets you control how much sky is hitting the subject.
Often the answer is just moving a few metres.
Learn to use the environment as a modifier
This is one of the biggest shifts in thinking that helps with natural light.
Stop looking at a location only as a background.
Start looking at it as part of the lighting setup.
A tree can become a diffuser.
A wall can become a flag.
A pale footpath can become a reflector.
Sand can become a huge bounce source.
A dark wall can create negative fill.
A cliff face can put someone in shade while still letting open sky light them from the front.
Once you start seeing environments this way, natural light stops feeling random. You stop asking, “Is the light good here?” You start asking, “What is this environment doing to the light?”
This shift will make a huge difference.
And don’t be afraid of modifiers!
Natural-light photography does not mean you have to use nothing.
A reflector can change a portrait completely.
A scrim can turn hard sunlight into a huge soft source if you have the room and the crew to use one. A flag or negative-fill board can bring shape back into a face when there is too much ambient bounce. These things are not a compromise. They are just tools.
The same applies to strobe.
There are times where the environment simply needs some help. Continuous lights often struggle outdoors because you need a huge amount of output to compete with daylight, whereas a strobe gives you much more power in a compact package.
Something as simple as a softbox or a focused reflector on a stand can bring enough light back into a face to make the image work.
I use this a lot when I am backlighting. I still want the sun to be the dominant source, but I do not want the person I am photographing disappearing into shadow.
A little bit of additional light is often all I need.
The sun is moving, so you should be too
One of the biggest mistakes people make outdoors is finding a setup and trying to force it to work for the next two hours.
Natural light does not work like that.
The angle changes. The intensity changes. Clouds move. Buildings start throwing shadows. The colour temperature shifts. The background changes as the sun moves across it.
So you need to move with it.
That might mean changing the direction you are shooting, moving the subject ten metres, changing lens, using direct light for one look and shade for the next, or abandoning a background because the light has stopped helping you.
The goal is not perfect consistency. The goal is a consistent feeling. That is an important distinction.
If the light is moving, the work should be allowed to move with it.
Lens choice gives you another layer of control
I tend to shift to longer lenses outdoors because they give me a lot of control over what enters the frame.
A longer focal length lets me isolate the subject, compress the background and choose a much smaller part of the environment to work with.
That becomes useful when the location itself is messy or when the good light only exists in one small pocket. Wide lenses can be beautiful too, but they force you to manage more.
More sky, more ground, more reflected light, more background, more things that can either help or ruin the image. Neither is better. They are just different tools. For me, the longer lens is often the easy way to simplify what is happening.
If you get to choose the time, make life easier
If I have complete control over the schedule, I will nearly always choose early morning or late afternoon. My work involves a lot of 4AM starts… If you aren’t an early riser, this part can be very challenging, if I’m given the choice, I love a sleep in… But the sunrises on the east coast are remarkable, and you only get them if you’re willing to rise early!
The sun is lower, the shadows are longer, the light travels across the face rather than falling straight down, and backlighting becomes much easier.
The colour is often warmer too, and you have more options for shaping the image without needing much gear.
First light and last light are fleeting, which is part of why they are so beautiful.
You do have to work quickly.
But the quality of light can be extraordinary.
That said, I do not think you should become dependent on golden hour. Sometimes a client only has midday. Sometimes the model only has two hours free.
Sometimes the perfect location is only available at the times you’d prefer to just wait. Being able to make something good anyway is part of the job.
Work with the light, not against it
This is probably the most important part. Natural light is not there to do what you want. You have to pay attention to what it is already doing and decide whether to use it, modify it or move somewhere else. If the sun is hard, maybe the image should be hard.
If the sky suddenly goes overcast, maybe you stop chasing contrast and lean into something softer.
If one corner of the location is working beautifully, stay there.
Do not keep walking around trying to force every part of a location to give you the same thing.
The photographers who are good with natural light are not necessarily the ones who always get perfect conditions.
They are the ones who notice what the conditions are doing and make decisions quickly.
Research helps. Technique helps. Modifiers help. Equipment helps.
But most of it comes down to learning how to read an environment, understand how the light is moving through it, and then put the person you are photographing in the right place.
That is the part that takes time.
Does this still sound tough?
If this is the kind of thing you want to get better at, I’m running Location Mastery: Shooting Authentic Images Anywhere on 19 September. We’ll spend the morning working through scouting, harsh sun, open shade, backlight, reflective environments, bounce, simple lighting and how to make better decisions when the conditions keep changing.
The goal is simple: help you see better, decide faster, and stop fighting the light. Hope to see you there (you can follow the link here).